Last updated on January 8th, 2021 at 03:55 pm
Glass Countertop Kitchen Raised Bar Design Considerations.
There are many Glass Countertop Kitchen Raised Bar Design Considerations , but in our experience there are a few common-sense approaches that yield great results.
No kitchen shape is “standard”, therefore we have to be smart and creative to maximize the utility, beauty and safety of a glass countertop high bar over a kitchen island. We have done hundreds of these installations over the years, and wish to help you prepare for yours.
Intelligent design starts by observing and taking inventory of the physical constraints we have In the kitchen:
- Faucets, Sinks, Stoves in the lower countertop
- Clearances for Refrigerator doors, ADA access, Space to walk around the bar
- Cabinet box layout
- Glass High Bar length and # of people to be seated at the bar,
- Strength of lower countertop materials (fragile or strong).
Make sure you have clearance for all of these elements and that they are not in conflict for where the glass high bar will reside. When we tell our clients that all quotes start with a sketch and a photo, it is simply because we want to ensure that we have accounted for these potential conflicts. Having a strong lower countertop material is critical as we cannot have a ~350lb glass high bar on 2 supports with a weak substrate like marble or onyx. It could fracture.
Cabinets usually come in 24” deep boxes. If you are designing a kitchen island with a sink, these are not deep enough for a high bar and a typically 20″ deep sink. You will have to augment your island base cabinets to be ~36” wide. This does not need to be expensive.
In the Downing Designs Glass Design Center, we solved that problem by adding a box made of 2×12 wood and fastened it to the cabinet. This allowed for our sink, faucets and elevated bar top to peacefully coexist. It is very strong as well as inexpensive to make. We covered the back of it with door-skin plywood, painted and trimmed it. Simple, Perfect, Elegant solution.
Case Study
Our client Dany wanted a Glass High Bar atop his kitchen island. He initially desired an “L” shape. We quoted him both a simple linear shape as well as his “L” shape, and told him when we meet, we can decide the best path forward. Upon our initial site visit, we discussed all of the options above, and given his needs and the layout of the aforementioned elements, I campaigned against the more expensive “L” design because:
- it added very little seating room
- It added a lot more to the cost
- It detracted from the linear flow of the kitchen
How to Size a Glass Countertop Kitchen High Bar.
How best to end the glass high bar (overhangs, symmetrical or asymmetrical with the lower kitchen island countertop?). Most high bars we sell are 20” wide. 10” overhang is perfect for most situations. This means that 10” will be “inboard”.
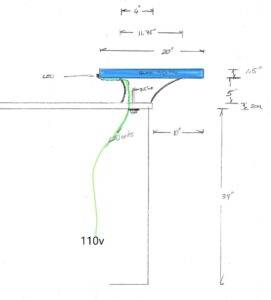
Glass High bar dimensions
Our design methodology starts by simply walking around the kitchen several times and looking at it from all angles…observing the other physical elements in the room…cabinets, perimeter countertops, doors, windows, hallway openings, couches, etc.
Making our bar optically “co-linear” with these elements is a good place to start.
Start by focusing on one overhang at a time. In this case on the left side, it was easy to have a minimal overhang that lined up with the distant perimeter countertop and upper cabinet lines. The refrigerator underneath that end of the bar demanded easy access. We visually confirmed this by placing our template strips to align with those distant elements.
Now to overhang #2. Here we had a lot of room to play on the right side. Off in the distance, the upper cabinets presented themselves as a logical extension that led our eye right to it. We approximated the overhang to be in line with that cabinet and placed our template strips to align with them.
Now, we walk around several times to ensure the “feel” and sizing is correct. Make sure there is clearance for people, chairs, etc. Make slight adjustments…compare before/after. This is a simple, yet often overlooked way to make your Glass Countertop High Bar feel right at home by syncing with the other design elements in the kitchen.
Designing a Texture for Glass High Bar.
Once we have a final size, we can start designing the texture of the glass.
All rooms have a voice that will “speak” to us and we “listen” for what the personality of the room says to us. From there we can compose a proper Glass High bar layout whose textures flow perfectly within the space it will reside. This is a critical distinction for a custom Glass High Bar vs a prefabricated glass slab. Its like the difference between a custom fitted suit that matches every contour of your body, vs a plastic poncho worn at a rainy football game.
Knowing where the supports will reside is critical, and we try to flatten those areas to allow for our custom cantilevering supports. We like to place our supports approx 16-32” inboard from each end of a glass high bar. Not many materials to allow cantilevering of 32″ lengths. Our Glass Design Center at Downing Designs has a 37” cantilever off of one end of our glass high bar.
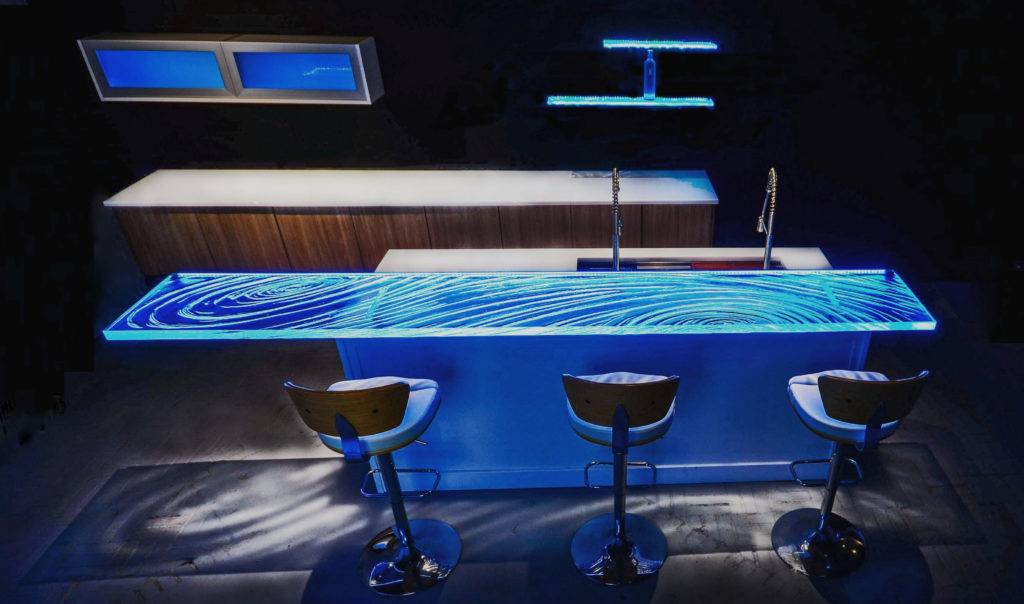
Dazzling Glass Countertop High bar at Downing Designs in Tampa,FL:
Selecting this placement is critical since the supports are to be through-drilled to the lower countertop. We must have clearance underneath to attach the glass high bar supports with washer/nuts onto the through-rod. Having knowledge of where the cabinet boxes are is essential. A drawing is a must.
Interactive Texturing Kiln with Client
We want to enhance the flow of the kitchen and make it become the focal point of the room.
It’s going to be a centerpiece so it must be as Artful as possible, while ensuring that the design pleases the client. We invite participation directly in this process.
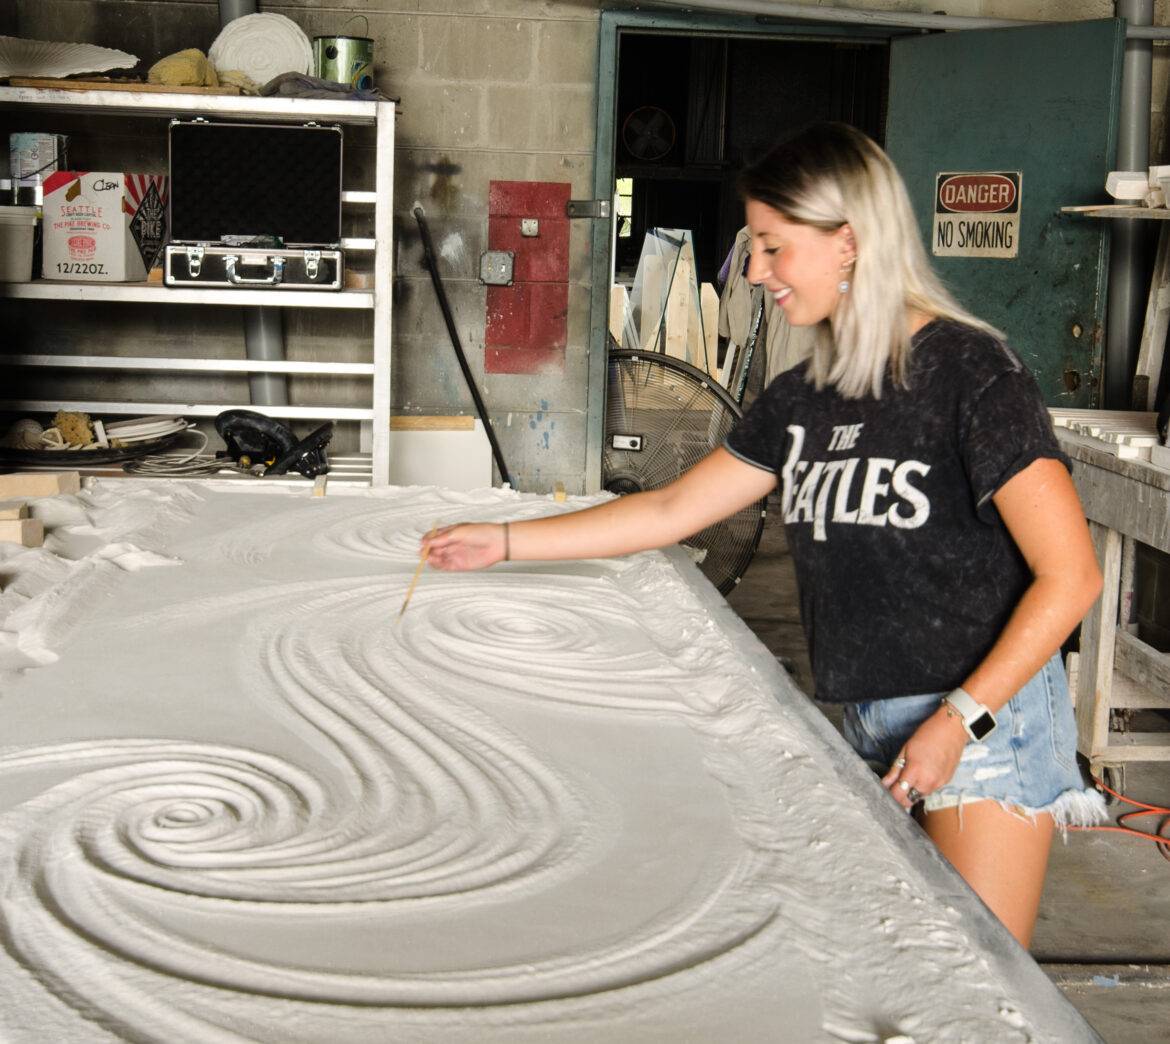
In this case, Danys daughter Chloe, is very artistic and we agreed to have her work with us to create the texture…first on paper, then in the kiln sand bed. We held a little family contest, where everyone was invited to participate. We then took the best of these and refined further into THE ONE.
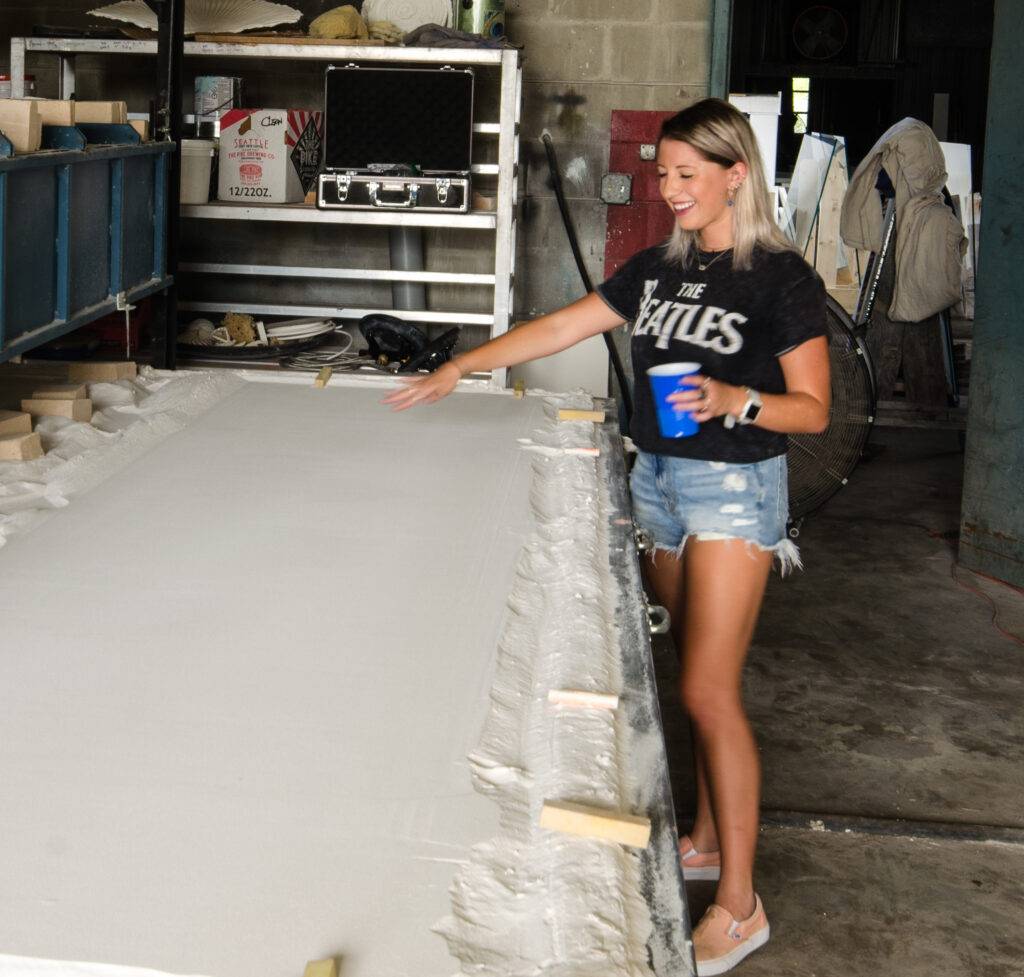
Chloe Texturing Custom Glass Countertops at Downing Designs
From an Artists standpoint, knowing when you are done is the hardest thing to discern on the fly. We have to STOP somewhere…and often LESS IS MORE in terms of detail. We find that our favorite textures are big arcing textures that really extend the room with their graceful flows.
Scaling our drawing into the kiln sand bed is a fun process.
Chloe did great and had great ideas with respect to the balance of the composition.
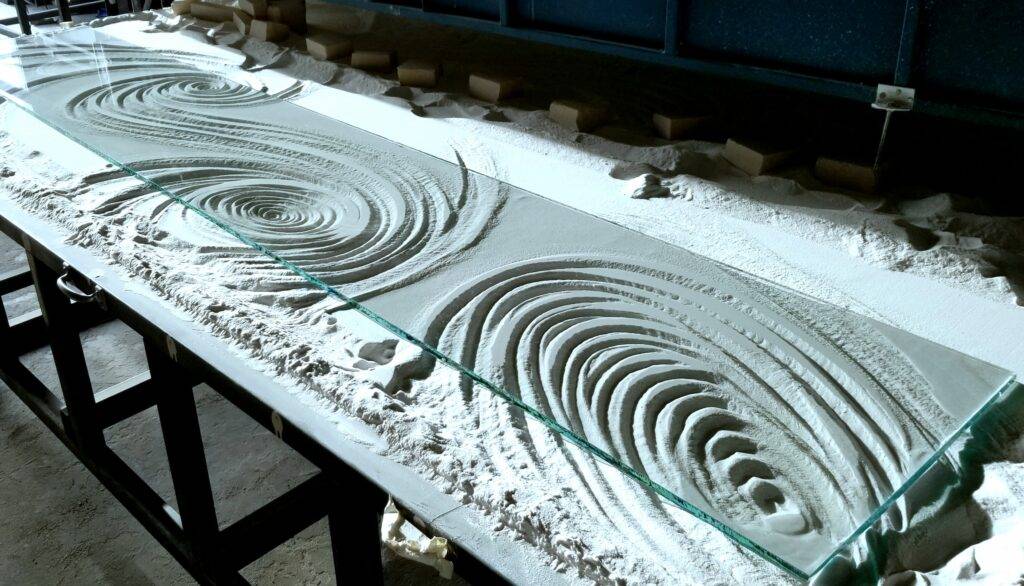
Texture for Glass Countertop
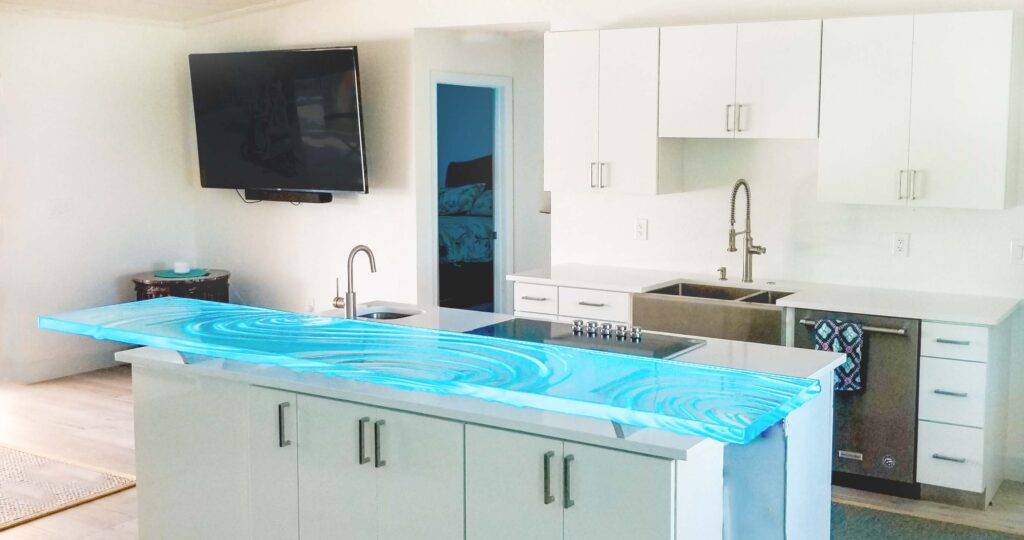
Glass Countertop in Bright White Kitchen in St Petersburg, Fl
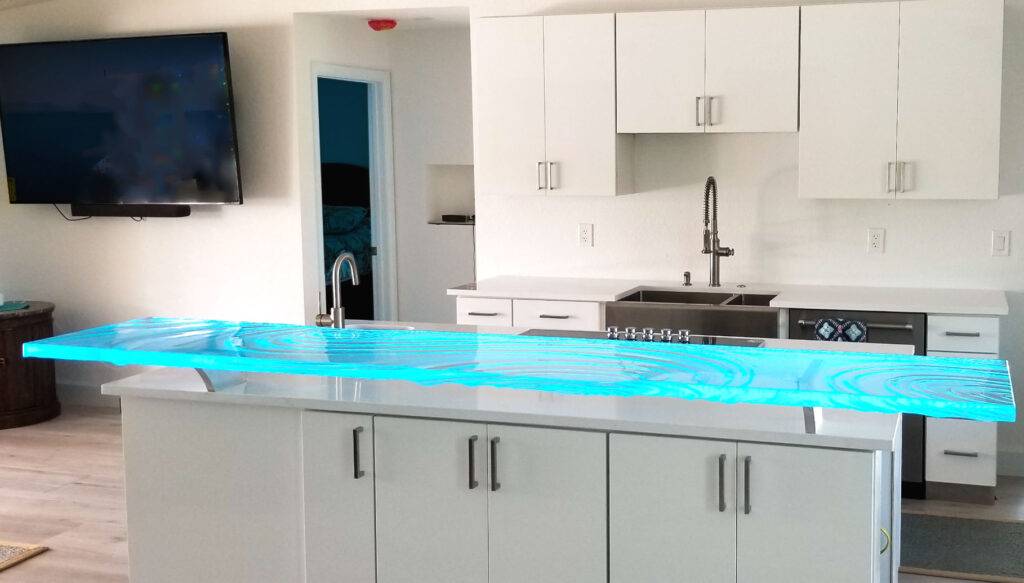
Glass Island High Bar Countertop in Bright White Kitchen in St Petersburg, Fl
Texture for Glass Countertop in Kiln

